Bring hope and light into your home with an ombre rainbow wall hanging. This is a very easy needle felted project.
I made this rainbow artwork as a backdrop for the cover illustration for a book I worked on in the fall with author Jewel Kats.
After the illustration was done, I loved the rainbow so much and I used it as a backdrop for my needlefelted unicorn in my Etsy shop, Claudia Marie Felt. I am planning to hang it soon.

Here is what you will need to get started:
1- 2 ounces of Romney wool roving
Wool dye, or food dye
A sheet of 100 percent wool felt
A piece of foam that is nearly as large as your wool sheet
Felting needle
 I used Romney wool because it has a nice sheen and you can spread the fibers very thin without getting a stringy look. The amount of wool you use depends on the size of the piece, but if you have more than needed you can always use the lovely colors for another project.
The dye I use is Greener Shades, but I have also created ombre rainbow wool with food dye. The food dye was easy to use because it did not require a dye pot, just a number of bowls with hot water. However, I prefer the more natural tones I get from Greener Shades.


I made this rainbow artwork as a backdrop for the cover illustration for a book I worked on in the fall with author Jewel Kats.
After the illustration was done, I loved the rainbow so much and I used it as a backdrop for my needlefelted unicorn in my Etsy shop, Claudia Marie Felt. I am planning to hang it soon.
Here is what you will need to get started:
1- 2 ounces of Romney wool roving
Wool dye, or food dye
A sheet of 100 percent wool felt
A piece of foam that is nearly as large as your wool sheet
Felting needle
The dye I use is Greener Shades, but I have also created ombre rainbow wool with food dye. The food dye was easy to use because it did not require a dye pot, just a number of bowls with hot water. However, I prefer the more natural tones I get from Greener Shades.
Rainbow with food dye
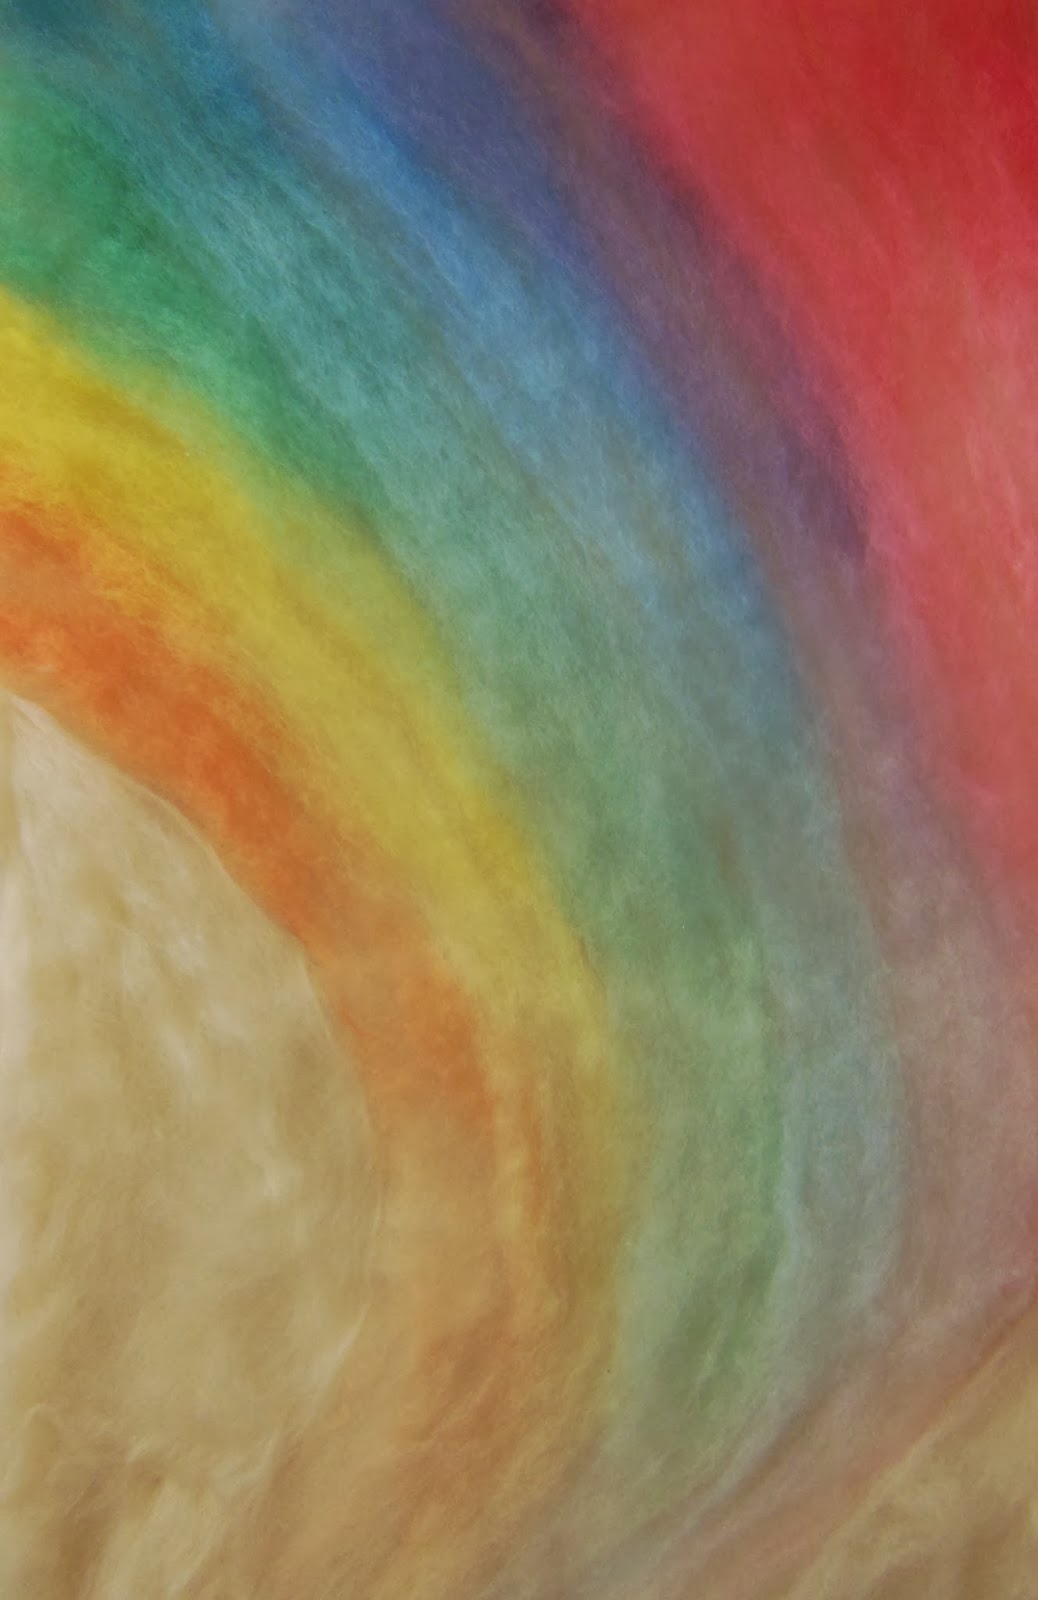
Rainbow with Greener Shades
Dyeing Your Ombre Rainbow
Separate your wool roving into 7 even strands. If you are using wool dye with many color choices, you can simply choose to dye the wool the exact shades from the container, but it can be more fun to mix them yourself. You will need blue, purple, red, orange, yellow, green, turqouise.
When dying with wool dye, you may find it more efficient and less wasteful to create your own colors, rather than discarding the dye bath and starting new each time. For instance, you can dye your yellow and then add some red for your orange dye bath. Likewise, after you have dyed your green wool, add some blue for turquoise.
With food dye, it is easy enough to have 7 bowls. For food dye, just fill 7 bowls with very hot water and add the food dye. You may want to test the colors with a wisp of wool or a Q-tip.
To get an ombre color, put 1/3 of the wool strand in the dye pot or color bowl and leave it there for several minutes. (If you are dying in a hot wool pot, do not hang the wool over the side; it will singe.) continue to dip the next one third of the strand into the dye bath and leave it there for a couple of more minutes. The last one-third will just get a quick 30 second or less swirl in the pot.
You will need to determine for yourself the exact length of time to leave your wool dyeing as it depends on many factors--dye strength, type of dye, etc.
Hang your 7 colors of ombre dyed wool to dry.
Creating a Rainbow Wall Hanging
Lay out your sheet of wool on a piece of foam.
Arrange your strands of dyed wool in order -- Red or Pink, Purple, Blue, Turquoise, Green, Yellow, Orange. It doesn't matter which you start with.
You will want to arrange the strands in a curve or arch -- be creative!
After you get your basic shape, gently pull the fibers of one color over the other. For instance, a thin edge of green can be pulled over the yellow, creating a lime shade. By doing this, you will have more than seven shades of color and a very beautiful and subtle blending.
Align the wool colors so that all the deeper shades are at one end, and the lightest shades at the other. You can fill in the remaining sheet of wool with white wool roving.
Once you are happy with your arrangement, needle felt along the edges to keep the wool in place. Also needlefelt lightly along the rainbow, but don't over felt--you probably don't want it flat.
For neater edges, fold the wool over the edges and needlefelt along the backside as well.
Voila!
You may wish to sew a string to the back for hanging or sew or felt tabs and hang on a branch. I am going to seek out a white branch for my rainbow.
Please let me know if you have any questions. And please share your result on my Facebook page, Claudia Marie Felt.